

 Australia's No. #1 & Only Trusted Online Screen Door Company | AS SEEN ON TV | Over 30k Screens Shipped Nationwide Australia's No. #1 & Only Trusted Online Screen Door Company | AS SEEN ON TV | Over 30k Screens Shipped Nationwide
The previous blog outlined the procedure for opening your packaging and removing your door from the cardboard box in which it was packed upon leaving the Seconline factory by freight. The blog went on to describe on how to locate the door in the correct position so as to fix the door with the hinges to the door jamb. To view this particular blog click here.
It is very important once you have your door now hung in the door jamb in the correct position that you establish an understanding of just exactly how the lock will feel in the open position, both from a physical feel and a visual identification of the correct locking procedure.
Let us now discuss terminology and naming of the lock components so you will have an understanding of the hardware required. Included with your hinged door from the Seconline factory is your componentry bag; this contains the door handles already in the correct position for your door being either a left or right hand lock. Within the pack there will also be screws and two small plastic screw caps to place over screw holes once they have been fixed into position. It is most important that you have the internal chrome snib in the 12 o’clock position when you are installing the door furniture. This is the most important item when installing your door, if this position is not adhered to, the lock will not work correctly. It is the most common mistake when assembling door furniture.
The lock handles which should be in the quarter past or quarter to position at all times (depending on your door lock side). By pulling down on the door handle in the door open position it will engage the main central tongue located either directly left or directly lock right of the door handle. Immediately above the main tongue is the trigger to engage the main tongue. Inside your door located immediately below the door handle is the silver chrome internal locking snip. Again let me repeat, this in the unlocked position should always be in the upright 12 o’clock position.
Now that you have your door with the door furniture on and in the open position follow these steps;
The next blog will contain the actual process of marking cut outs for final installation of your Seconline Security Screen Door onto your door jamb.
5 Security Must Haves For Your Apartment
15 May 2020
Are you sitting in your home wondering how you can protect the safety of your family and contents?...
How Reliable Are Your Screens?
13 Mar 2020
Are you sick of having unwanted insects enter into your home or business? If you’re currently on...
Front Door Security
26 Feb 2020
When was the last time you thought about your home’s front door security?
Not only is your front...
Is Your Home Firesafe?
24 Jan 2020
In Australia, our harsh landscape and climate are demanding the need for our homes and towns to...
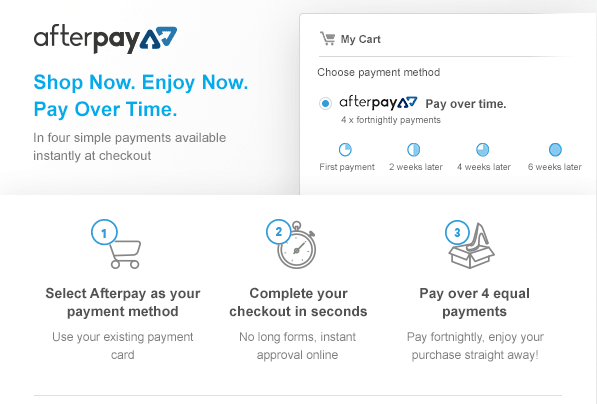
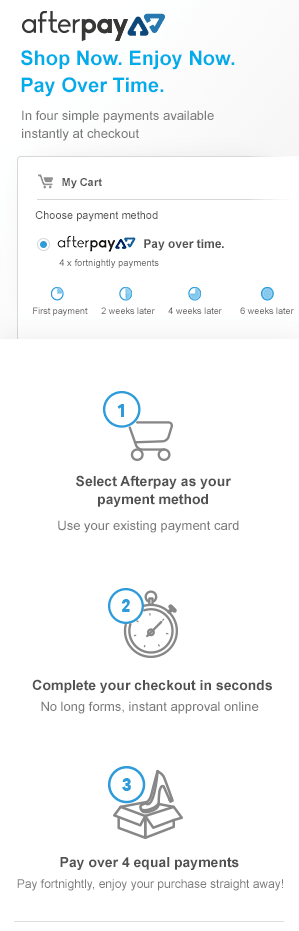
1) A payment card; 2) To be over 18 years of age; 3) Resident of country offering Afterpay
To see Afterpay's complete terms, vist https://www.afterpay.com/terms
1) A payment card; 2) To be over 18 years of age; 3) Resident of country offering Afterpay
To see Afterpay's complete terms, vist https://www.afterpay.com/terms